Thursday, 17 February 2011

PaperPlay Challenges - Add Shine

Hi folks, and welcome to my first DT project post for PaperPlay Challenges.  This week we had some fab images to work with, courtesy of Just Some Lines.

I chose to make a nice, easy, simple card for this one.  Nothing fancy schmancy, just a little something in the card line to give to a little one.  My 'SHINE' comes from two directions;  The shiny gold cardstock that I used and the glossy accents for the little girl's rose, hair bobbles, shiny shoes and the dog's healthy wet nose.


Please take time to go over to PaperPlay Challenges to see the amazing work of the other DT members.

Materials:
Gold cardstock - Image from Just Some Lines - Coloured using Promarkers - Sentiment; computer generated - ribbon; Ribbon Mad

Monday, 14 February 2011

Love bugs Valentines canvas

Chatting to a friend at work who said she wanted to do something 'really special and different' for her man this year.  Not the normal, buy it from a shop, mass produced tat but something that meant something.

I came up with the idea of doing a canvas and being the arty friend that I am created a box for her to give to him.


But me being me, wasn't satisfied with just an empty box for her; I had to create something to fit inside it (well, to be honest I made the box to fit the canvas!) So I came up with this from the photograph she emailed across to me.


Am really pleased to say both Penny and Roger LOVED my creation.  To see her face when she opened the box at work to look at it was a real prize for me.  Let's just say it was taken out of her desk drawer many times on Thursday last week to look at ;-)  May they always be as happy and in love as they look in this photo.  xxxx

Materials:
Canvas - Ribbon - Heart punch - Prima flowers - Brads - WRMK ribbon slider - Tim Holts stamp - Making Memories alpha stickers.

Thursday, 10 February 2011

Paper Play Challenge Blog

I've got some great news to share....

I've been asked by Sandie to join her fantastic Design Team over on the Paper Play Challenge Blog.

I can now proudly display my new banner too.


Really looking forward to working with the whole team on this great challenge blog.  Please join us too when you can.  It's always great to share the talent out there; and you lot are a mightily talented bunch.

Tuesday, 1 February 2011

Chicken liver pate and what NOT to do when making it....

As I can't eat pork, and all commercially bought pates contain pork (even chicken liver pate!) I always make my own using chicken livers.  Thinking I'd give you a recipe and method of how easy it is (not to mention how much better tasting), I photographed the ingredients and the step by step method.

Thankfully it was only my iPhone that I dropped in the finished item and not my Nikon!  As you know, you can't wash phones, so I (disgustingly) licked it clean before wiping it with a damp cloth!


You need:

1 pack chicken livers (defrosted if frozen - my local butcher sells them in big packs)
3 cloves of garlic
1 large onion
8oz butter (not for those dieting)
Herbs of your choice, but I tend to use parsley, sage & oregano
Splash of sherry (optional)


This fella on my worktop makes lots of things, including making pate a breeze.


I use my mincer attachment to mince the chicken livers on a coarse screen prior to cooking (speeds up the time taken to cook it.   If you don't have a mincer, then chop up the livers (or use kitchen scissors to cut them up).


I then push my garlic and onion through the mincer for two reasons. 1) it clears all the liver out, and 2) the onion is now the same size as my minced liver.  You can obviously chop your garlic and onion finely instead.  Add all your herbs to the liver and onion mix in your bowl (as well as your splash of sherry if you're using it).


Melt half a pack of butter (4oz) in a large frying pan, make sure you don't brown or burn your butter or your pate will taste awful.


Add the ingredients from your bowl and fry until the onion is transparent and the livers are cooked.


I use this cooking time to wash my mincer attachment ready for the next stage.

For the cooked liver mix I then use the fine screen on my mincer as I like a fairly smooth pate.  Push the cooked liver mix through the mincer and collect in a clean bowl.  If you don't have a mincer, you can use a food processor or a blender (or hand held stick blender) to make it smooth, or alternatively, you can leave it fairly course in texture.  It's all down to how you prefer your pate.


Cut up 2oz of butter into small pieces and mix thoroughly with your minced livers until melted.


Transfer your pate to your serving dish.  I add a bayleaf for decoration before gently melting the remaining 2oz of butter, straining this through muslin (to produce clarified butter) and then pouring this over the top of your pate.  This both seals it from oxidisation and also helps preserve your pate.


Chill in the fridge until cold, then enjoy with crackers / toast, salad and a nice home made chutney.

I'll try and get round to sharing my apple chutney recipe with you which goes beautifully with chicken pate, cheese, hams etc.

Enjoy!  If you make your own, please remember to come back and let me know what you think of it, won't you?

Monday, 31 January 2011

Kathy's Waffle Sketch File

Jan / Feb 2011 - Triangles & Circles.

Ok, I've just realised when typing up this post to go with Kathy's sketch that I didn't include triangles; instead using circles for my bunting!  Sorry to be so dim Kathy!!!!


Materials:
White pearlescent cardstock - Prima Flowers - Brad - Papers: Prima & (turquiose) offcut from scraps - Rub on: BasicGrey - Alphas; Making Memories - LOVE diecut pressie from Rebekah Montague - Inkpad; QuickQuotes

BasicGrey cards

I was sent a load of stash recently from a very lovely friend of mine as she knows how much I love BasicGrey (Thanks Steph!)

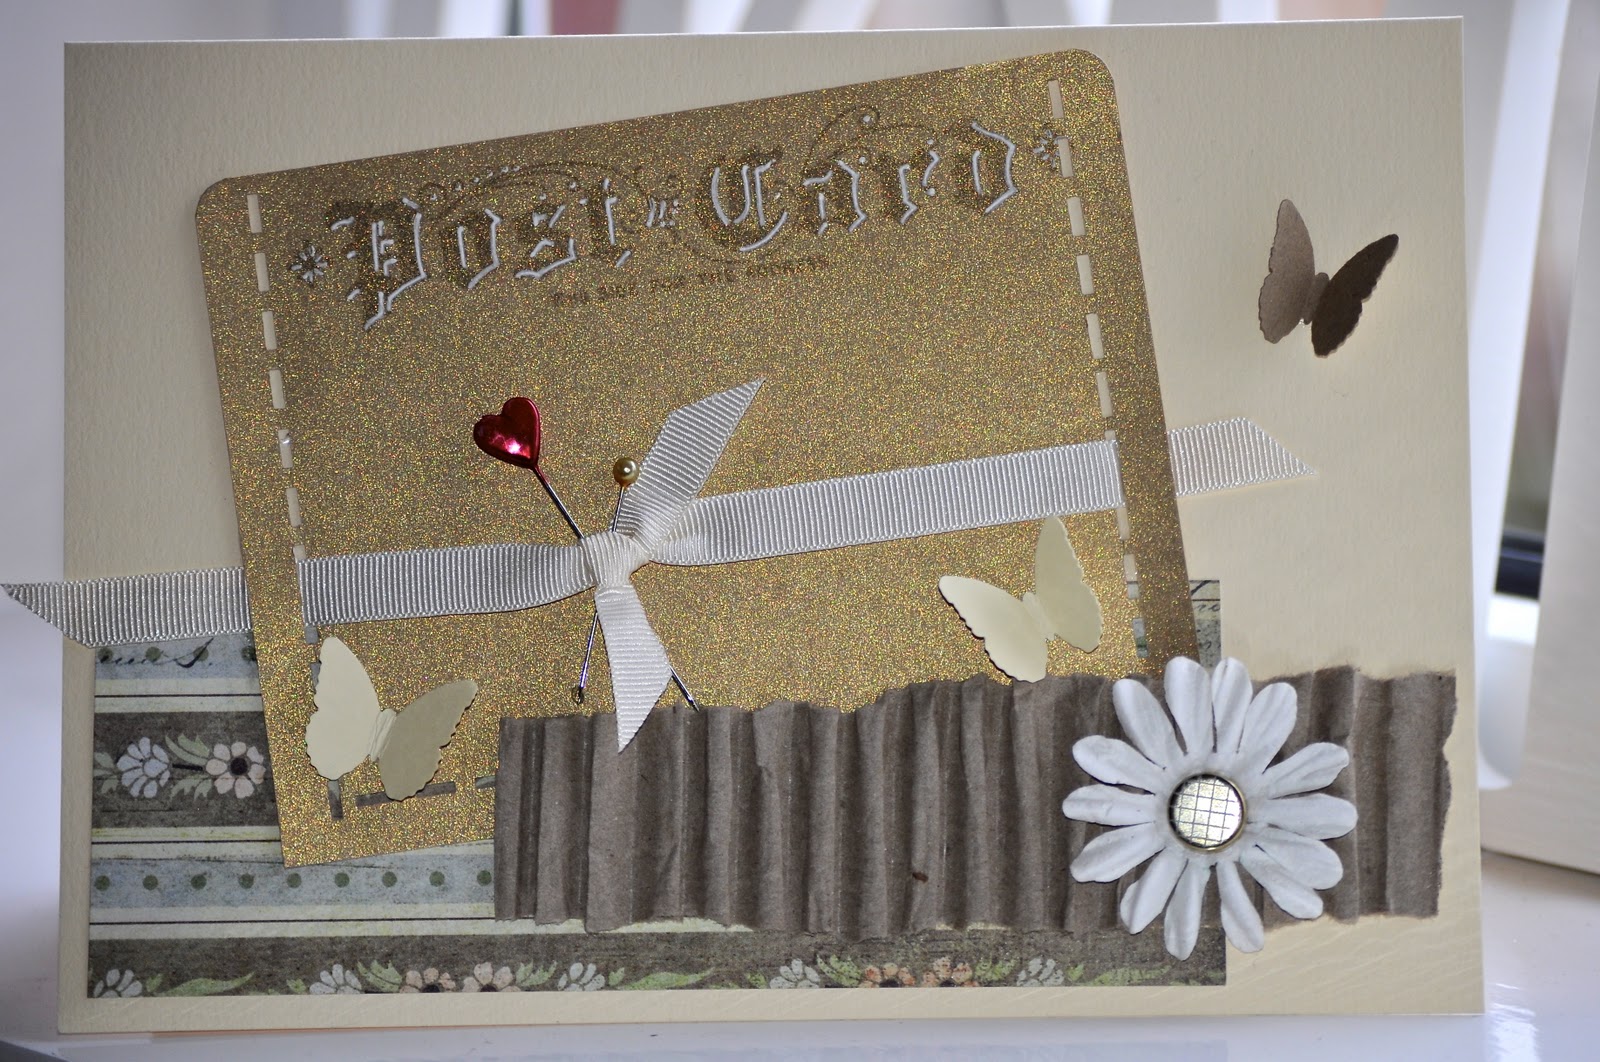
These cards, chocolate bar and mini clipboard were made from only 2 sheets of 12x12 patterned paper.  Love the vintage/shabby chic look and feel of them.


Sneaky peek...

Sneaky peek...

Sneaky peek...

A5 card

A5 card

Materials used:
BasicGrey paper - 'Bingo' clipboard - Ribbon - Lace - Prima flowers - Martha Stewart Butterfly punch - Corrugated cardboard - Brads - Pins - Tim Holtz stamps -

LinkWithin

Related Posts Widget for Blogs by LinkWithin